
This is a companion blog to the vlog posted on YouTube. See it here
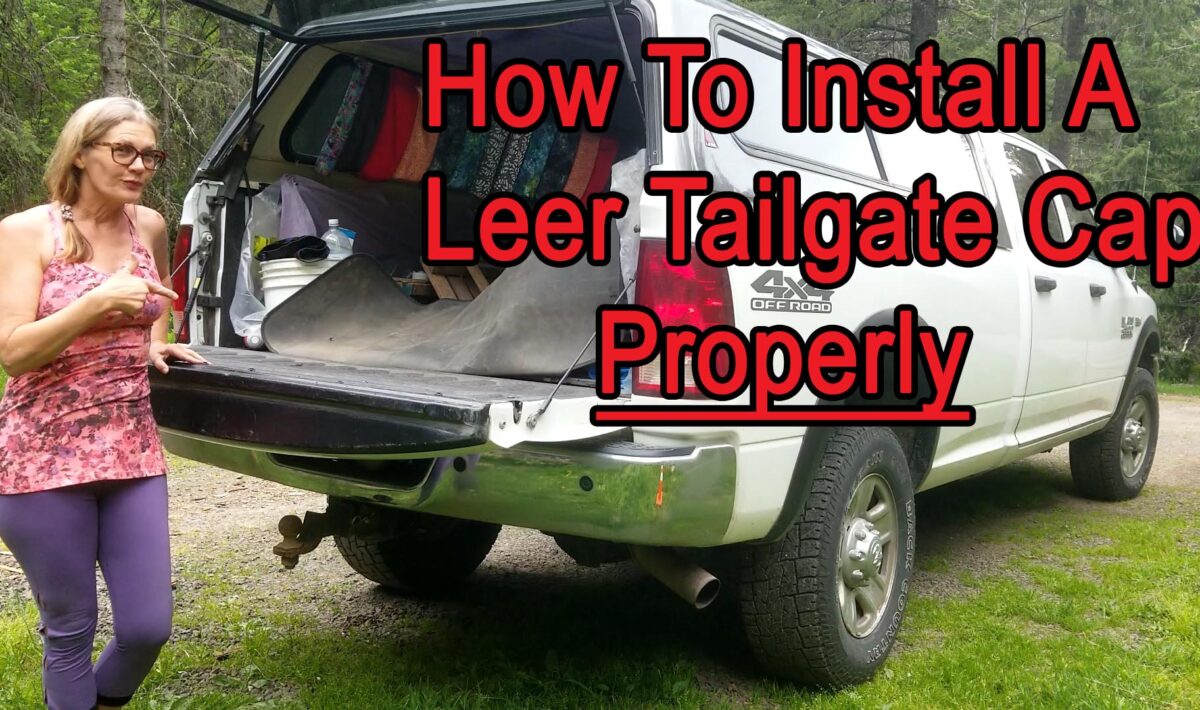
How to properly and professionally attach the Leer tailgate cap to your 4th generation RAM.
Items needed:
Rivets
Drill with drill bit
Double-sided tape or butyl tape – Dicor brand butyl tape is my favorite, it lasts! https://amzn.to/3Bj41Zb
Do you have a 4th generation Ram truck (2009 -2018 1500 or 2010-2018 2500/3500) and a Leer canopy? Did you know that Leer canopys for this truck come with a special cap that goes OVER your tailgate cap? This Leer tailgate cap has a ridge that keeps water from leaking under the hatch window and into the truck bed. It is an absolute necessity! If you bought your Leer canopy used and didn’t get the special tailgate cap, you can buy a replacement from my favorite online store, Truck Outfitters Plus, for about $100.00.
Fortunately for me, I bought a used Leer canopy and knew to ask for the tailgate cap, too. It is a little damaged but not badly enough to require replacing. The cap was attached with double-stick tape and the hole that was worn into it is because the cap was a bit catywhompus on the tailgate.
Here is how I installed the Leer tailgate cap onto my existing Ram tailgate cap securely and keep it attached even with all the various items that slide against it day after day.
Note: I have a replacement tailgate cap on my RAM as the original was nibbled by a mouthy equine. I found the replacement tailgate cap on Amazon here ( https://amzn.to/3TPS2ti ). When I put it on, I may have added a couple more rivets than the factory thought necessary to hold the cap in place. I did not have to drill any holes into the tailgate itself; it is as if the manufacturer knew that some of us would need a bit more holding power and provided the spaces available, even if they didn’t bother to pay the extra couple pennies to install the rivets. If you are happy with how your original tailgate cap is secured, you do not need to add additional rivets.
Let’s get started!
The only power tool you need is a drill and a drill bit that is sized to your rivets.
You will need the plastic rivets. I found this box for about $13.00 on Amazon ( https://amzn.to/3RLo9J3 ) and it includes a little tool for removing rivets. The tool works great to remove these rivets but I had to use pliers to rip the factory-installed rivets out. These rivets have held tight for over eighteen months. This was filmed in 2021; I like to make sure my recommendations will hold up over time. There have been dog paws, human butts, tools, drywall, plywood, and many other things slid over the rivets in the past year and they have not loosened, even though I’ve cracked a couple of them. I’m really impressed!
I also recommend adding some butyl tape or double-stick tape to the inside of the cap since the rivets are on one side only. I like butyl tape best because it holds up better over time (Dicor butyl tape has held up on my RV for over four years! https://amzn.to/3Bj41Zb ) One thing to note if you have a very tight fit on your canopy hatch window to your tailgate, the butyl tape could make it even tighter because of its thickness. My hatch window does not fit tight to the tailgate cap so a layer of butyl tape helped lift the Leer tailgate cap up a bit to have a better fit when the hatch window is closed.
Remove the existing rivets in the RAM tailgate cap, being careful not to damage the cap itself. Or, if you are replacing the cap as I did, make note of the rivet placement. Then you can be less careful in the removal and maybe even wave the removed original cap at the offending mouthy mule and tell them that trucks are not chew toys.
Drill holes for the placement of the rivets into the Leer tailgate cap. These holes should line up with the existing RAM tailgate cap and the rivets will go through BOTH tailgate caps. You can do a test fit of the LEER tailgate cap onto the RAM cap to make sure everything is lining up properly.
Clean the inside of the Leer tailgate cap and the exterior of your RAM tailgate cap. Run a line of butyl tape on the inside of the Leer tailgate cap at the location that would be considered the top when the tailgate is closed, along where the curve is. If you have extra tape, run a second line for additional security.
So now you have rivet holes on the inside of the Leer tailgate cap and tape on the underside of top of the cap. I did another test fit before peeling off the second paper backing on the tape at this point to just make sure everything was properly aligned, because I worry that way. Now peel off the paper backing on the tape that is inside the Leer tailgate cap, slide it over the RAM tailgate cap, and make sure the rivet holes are lined up. Then insert the rivets by tapping in lightly with a hammer, a rock, or a shoe. Just something to give it a slight whack.
Now close your tailgate, close your Leer hatch window, and admire your professional handiwork!
I am an Amazon Affiliate. If you purchase an item that I have linked, I will make a small commission at no additional cost to you. Thanks for your support!
What’s that you say?