
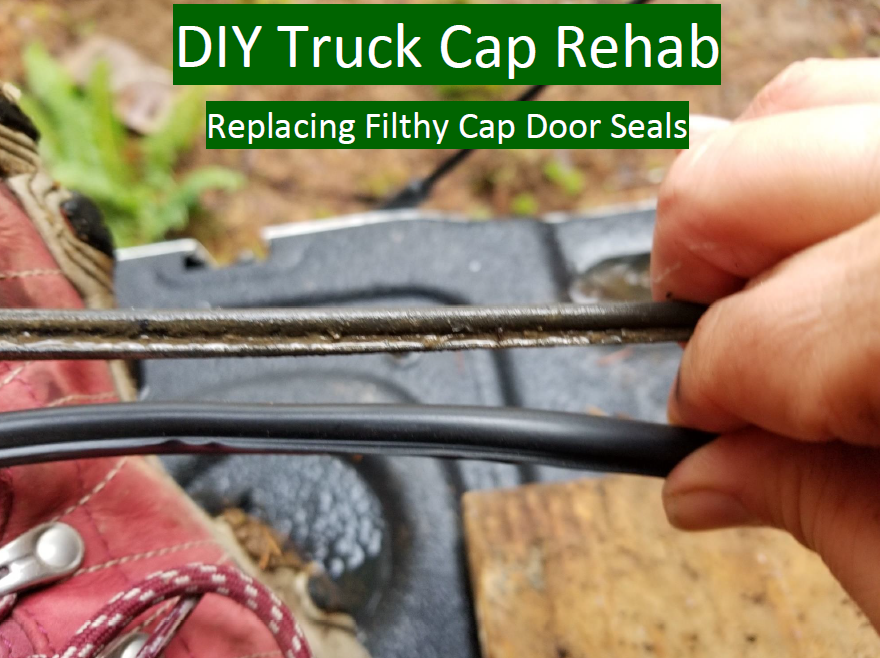
How to replace the door (also called hatch window) seals on your truck topper
(skip to bottom of blog for the YouTube video link)
This is a very easy DIY to show you how to replace the old seals on your truck cab.
This job will take less than an hour.
I was on the waitlist for a brand-new ARE MX truck topper. These are also called a cap or a cab, but they all are the same thing, a fiberglass or aluminum lid that goes over the truck bed and makes it look like a SUV. Then the pandemic hit and my three month wait time was extended to a point that was not going to work for me. Luckily, a couple of months after canceling the order, I found a used Leer cap for my truck. It fit beautifully and just needed a few maintenance steps to make it like new. One of those is replacing the seals around the door, aka hatch window. This is one of the top spots for moisture penetration so having a good seal is important to keep the bed of the truck and its contents dry. These seals also aid against dust from getting into the bed of the truck if you drive on dirt roads.
For the remainder of this article I will use the term ‘door’ for simplicity. Just remember that on a basic truck cap the ‘door’ is the hatch-style window that meets the tailgate at the back of the truck. Some caps have hatch windows on the side and some have actual doors in the back. This DIY is for the basic type of truck cap. If you have one of the fancier types, maybe you can be inspired to do a little rehab once you see how easy the basic rehab can be.
Before starting, you will need to buy the following replacement seals:
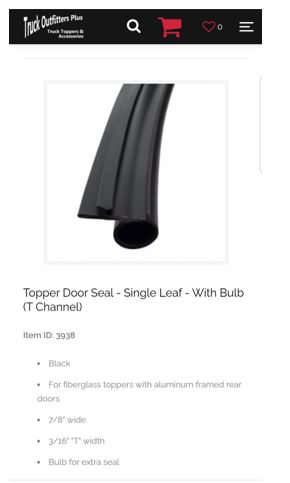
For bottom of the door, a cap door seal- I used a single leaf- with bulb and t-channel
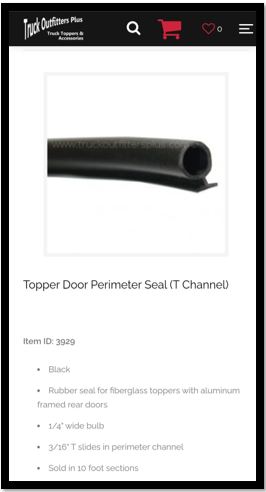
For around the door a cap door perimeter seal with t-channel
I purchased mine online at truck outfitters plus (truckoutfittersplus.com).
It makes it easier if you still have your old seals so that you can be sure to get the correct part. If you don’t have the seals, just take a look at your topper and make your best guess. I found the service at Truck Outfitters Plus quite helpful when I had a question about my Leer.
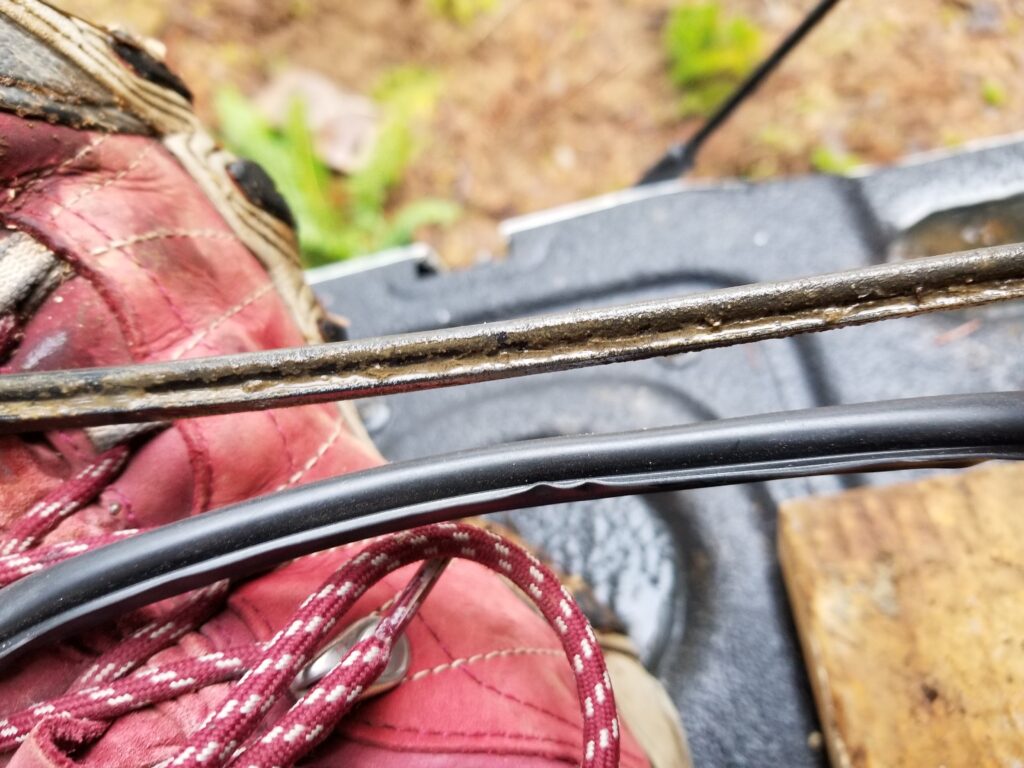
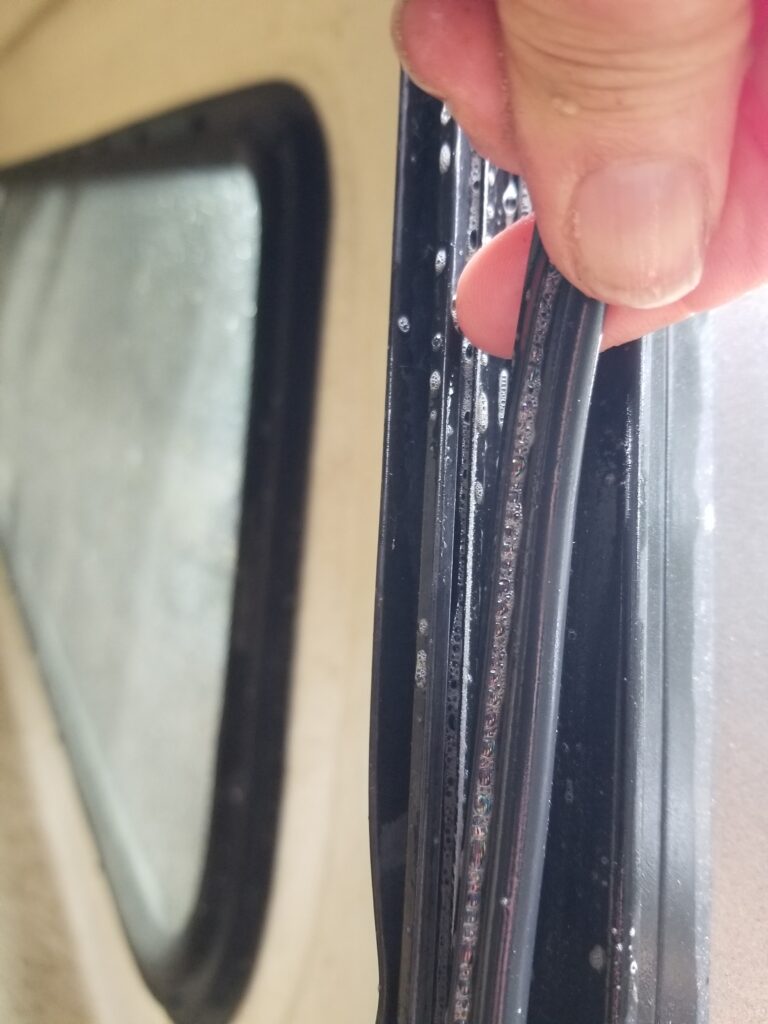
First, get a bucket of soapy water, some rags, and an old toothbrush or small and soft scrub brush. You will not believe how filthy these poor seals can get. Just look at the comparison between the old and new perimeter seals, no wonder they need replacing after a few years!
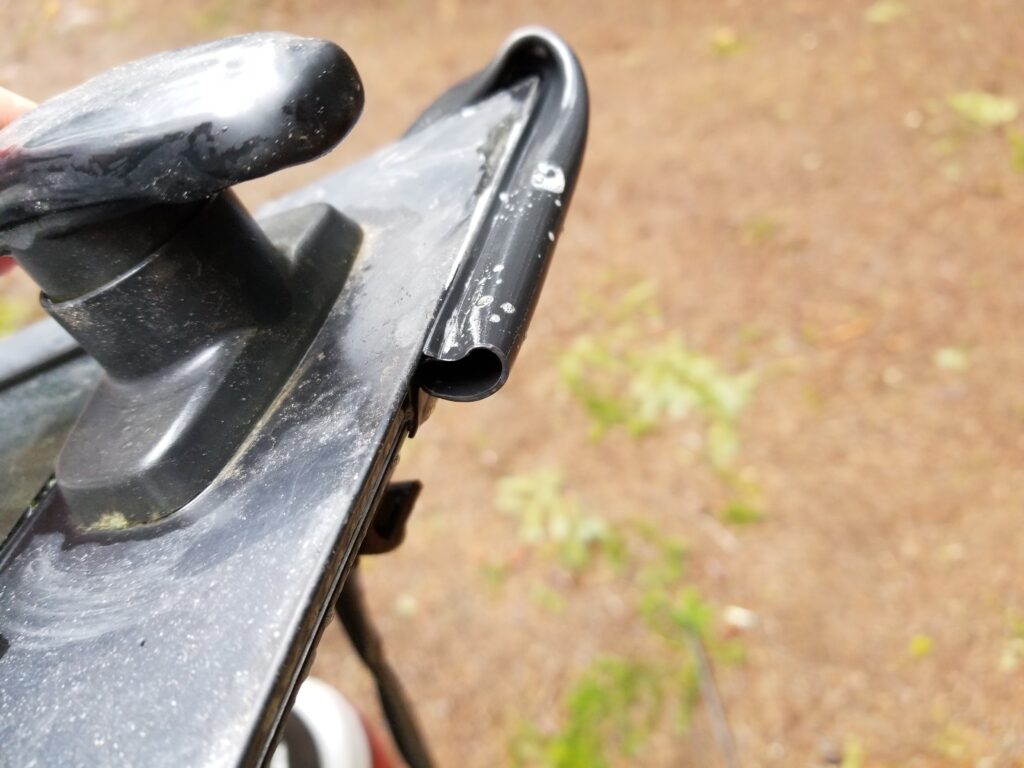
Remove the old perimeter seal by grabbing one end and pulling gently. It will pop out of the t-channel and probably fling dirt and muck around. Next remove the door seal. I had to do a mix of pulling out of the channel and then sliding a bit to wiggle it loose.
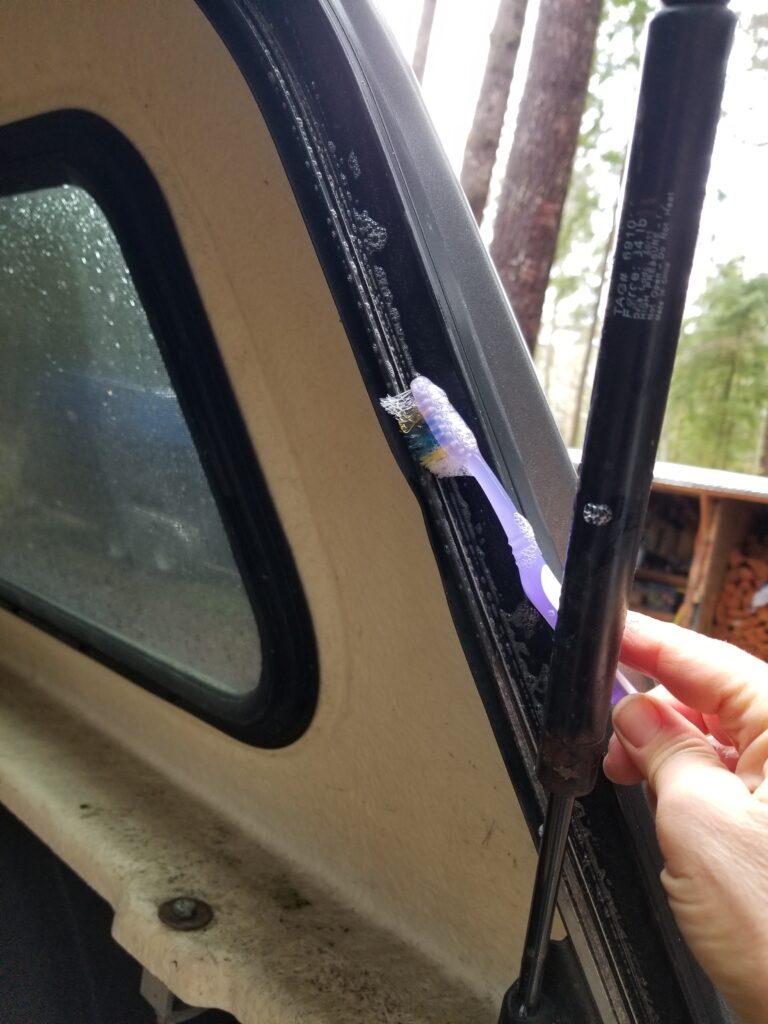
Grab your clothes and soft scrub brush and get into every crevice. I used a spray bottle of plain water to rinse the channels and verify that all dirt and grunge was removed.
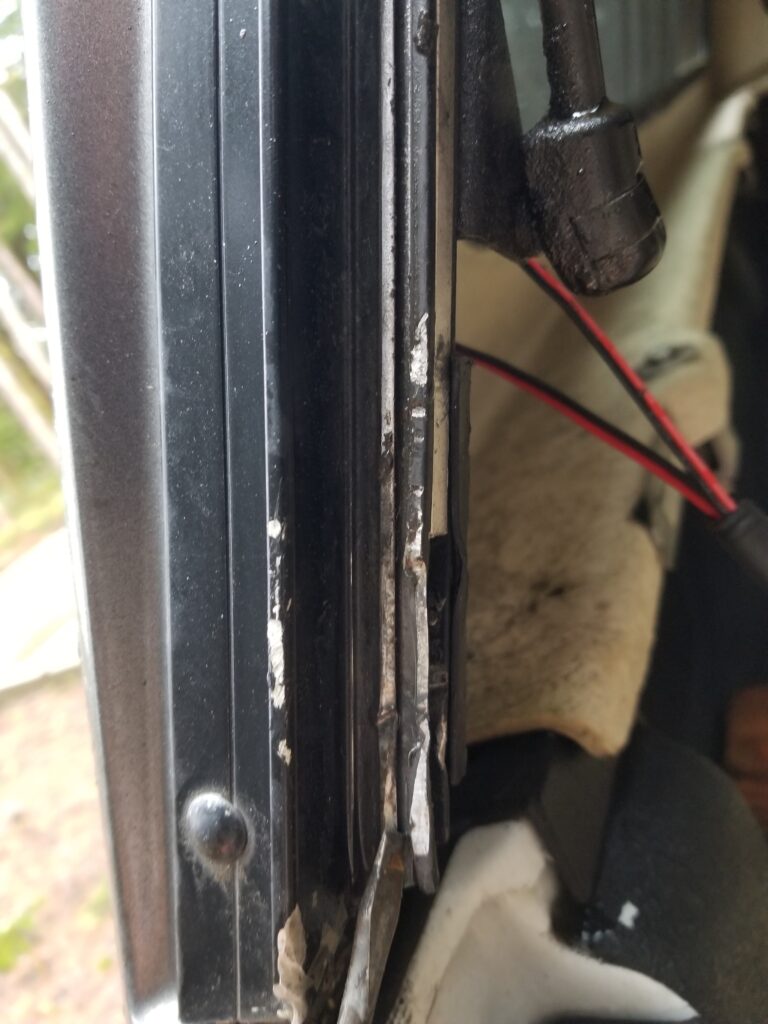
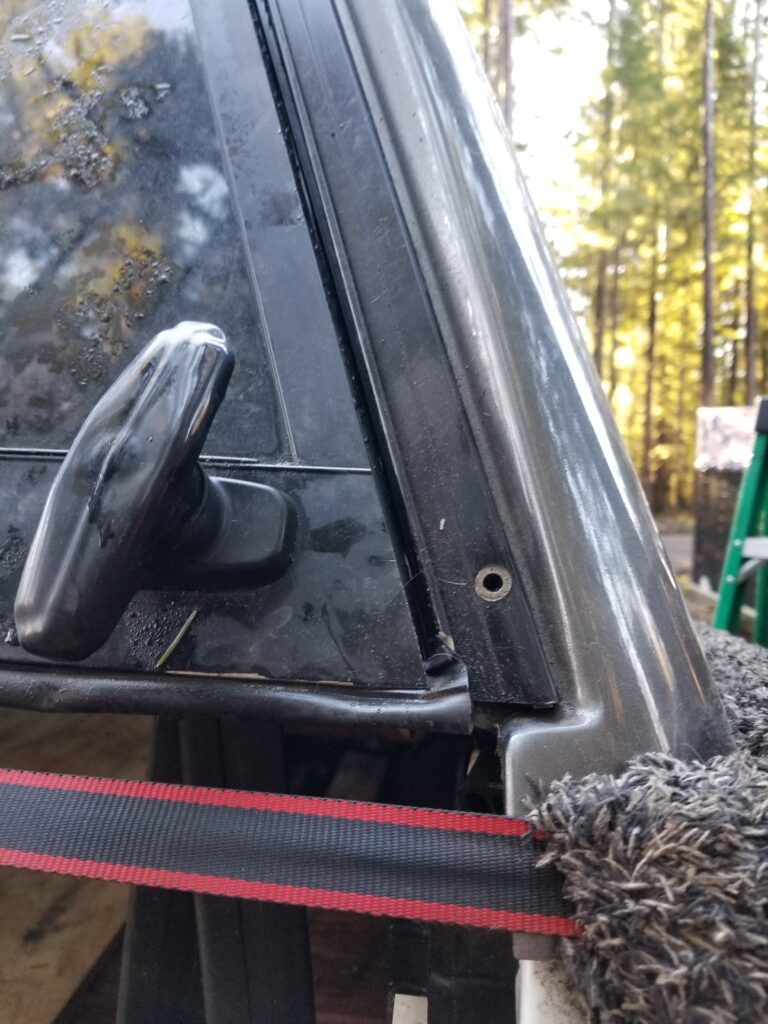
My channel on my perimeter has been smashed a few times and had some damage. I used a small flat head screwdriver to open the channel. On one side the channel was so damaged it was missing but, hey, life happens and this cap was purchased used for about 1/6th the cost of new so I can make do with it. I’ve certainly been more aware about making sure the handles are in their upright position before closing the door/hatch window.
Get a clean bucket of warm soapy water and place your new seals into this water for a minute. If you are replacing the seals on a cold day, this is really important to help the seal mold to the curves of the window perimeter. The soap helps the t-channel on the seal to slip into the channel on the topper. Put some clean soapy water into a spray bottle and squirt it into the perimeter channel, getting it nice and slick.
Leaving about one inch of over-hang, begin placing the new seal into the channel of your perimeter. Insert the backside of the T on the t-channel seal into the metal channel for a few inches. Then use a flat-head screwdriver to press the front side of the T on the t-channel in place. The video will show you exactly how this is done. Continue inserting the t-channel seal into the topper perimeter channel all the way around the door/hatch window opening until you come to the end. You should have an inch or more hanging out from this final end. Don’t trim the seal just yet; let it dry first to see if there is any adjustment that needs to be done.
Now it is time to do the bigger door seal that marries the door/hatch window to the tailgate. This seal is a lot firmer and will take a little more finesse and patience. Soak the seal in warm and soapy water, then begin to slide it into the t-channel from one end. Unlike the perimeter seal that was placed into position, I found this seal too big to snap into the channel. It needs to be slid into place. If it got stuck and wouldn’t slide, I got the soft scrub brush and cleaned the channel to remove any little dirt that was left behind and add more slippery soap to the channel. Once you get the seal installed along the length of the hatch window, be sure to leave a half-inch overhang on each side in case you need to make adjustments after it dries. You can wipe the seal with a dry cloth to remove soapy drips and speed drying.
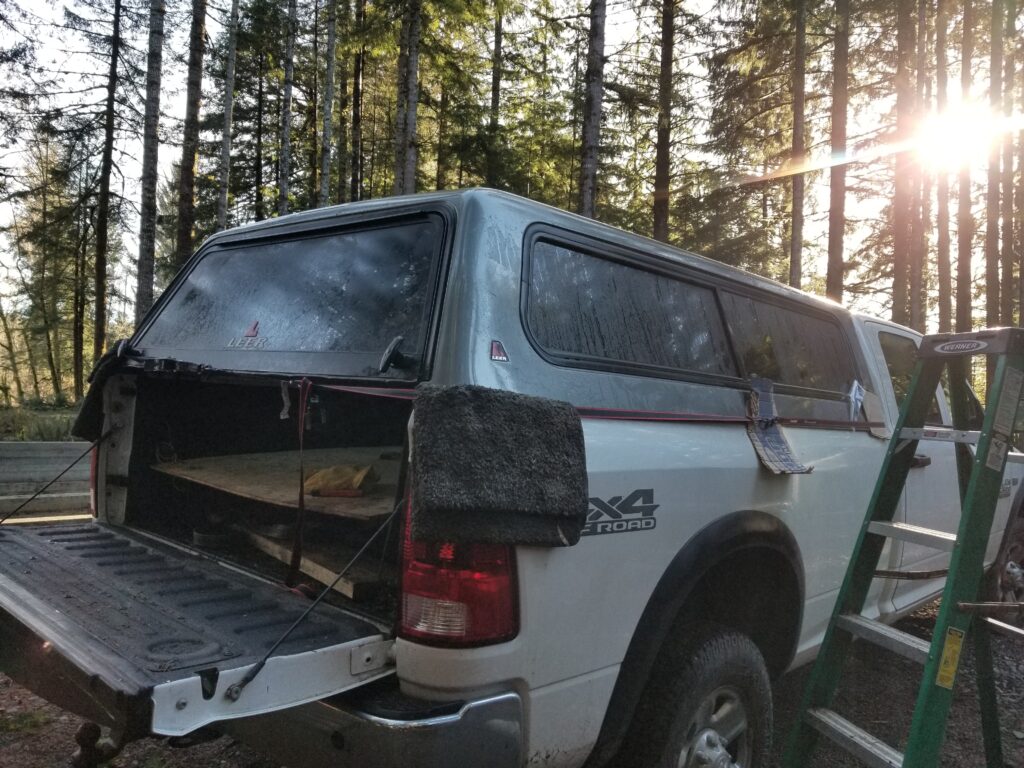
Before you trim your new seals to size, check to make sure your cap is installed squarely on your truck bed. Here you can see that I had to squeeze in the cap before clamping in order to get a proper fit using ratchet straps. Be sure to protect the paint on your cap; I used old carpet mats to prevent scratching or rubbing. Now trim the excess seal using scissors. Close your cap and admire your clean and fresh new seals.
Wow! Is there anything you cant do, my all-knowing Susan?
Lol! I am definitely employing the saying, “A jack of all trades is a master of one”