
I am in a stage of life where I have more available time than money. Again. My late teens and early 20s were like this, too, and when stuff broke I learned to either make do without or grab a screwdriver and start poking around until something happened. The screwdriver trick has gotten me much farther in life than I would have ever imagined. “Is that a poisonous snake?” Poke it a bit and take a look at the head shape. (I am not recommending you do this, dear reader. Even my dog knows better than to fool around with snakes. You should definitely take snake life advice from my dog rather than me, but that is a post for another day) Can’t quite reach the bowl or box on the tippy top shelf? Grab a screwdriver and poke at it until it starts to slide off. Screwdrivers are great for getting that flat lid off of a home-canned mason jar of pickles and also for banging the heck out of an olive jar lid to break the seal if you can’t get it open.
Let’s see, where was I going with that? Yes, more time. It is what we all want, don’t you think? Time, the one thing money cannot buy. Okay, besides love and homegrown tomatoes. So what do I decide to do with this time of mine? Build a door. Technically I have built two doors now. One is a barn door the don and I built together for our shed. We got the best price for the hardware from Amazon. Here is a link if you decide you must have a barn door for your own place. And when you see how easy it is to build one, you will want them everywhere!
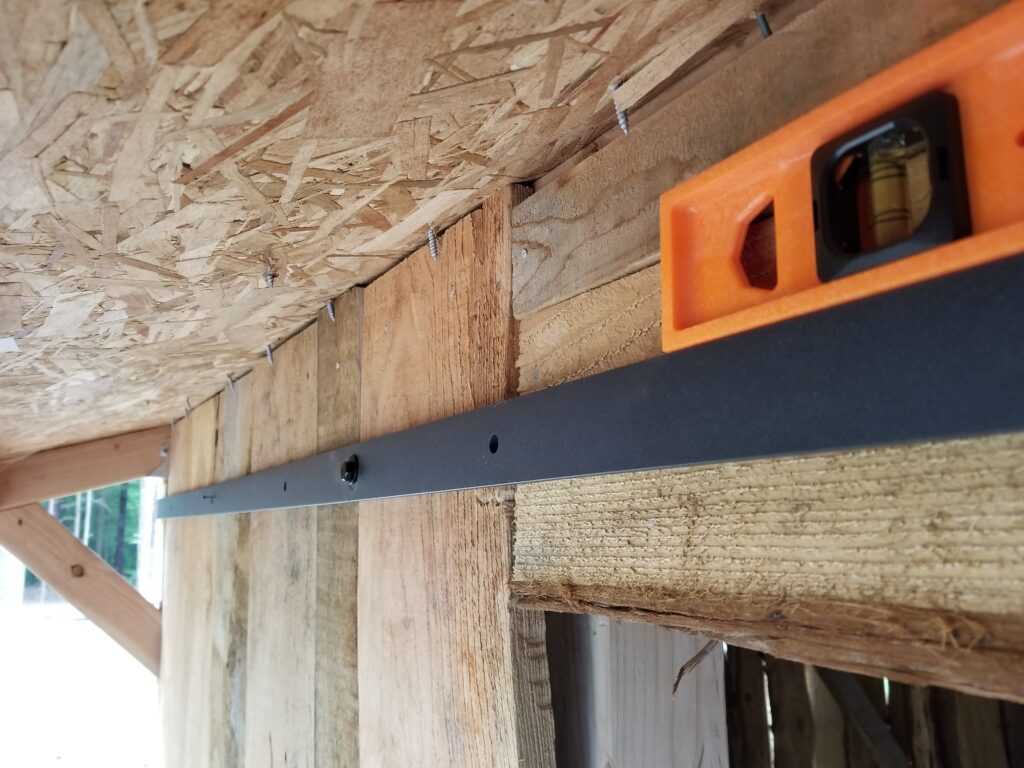
perfectly level hardware 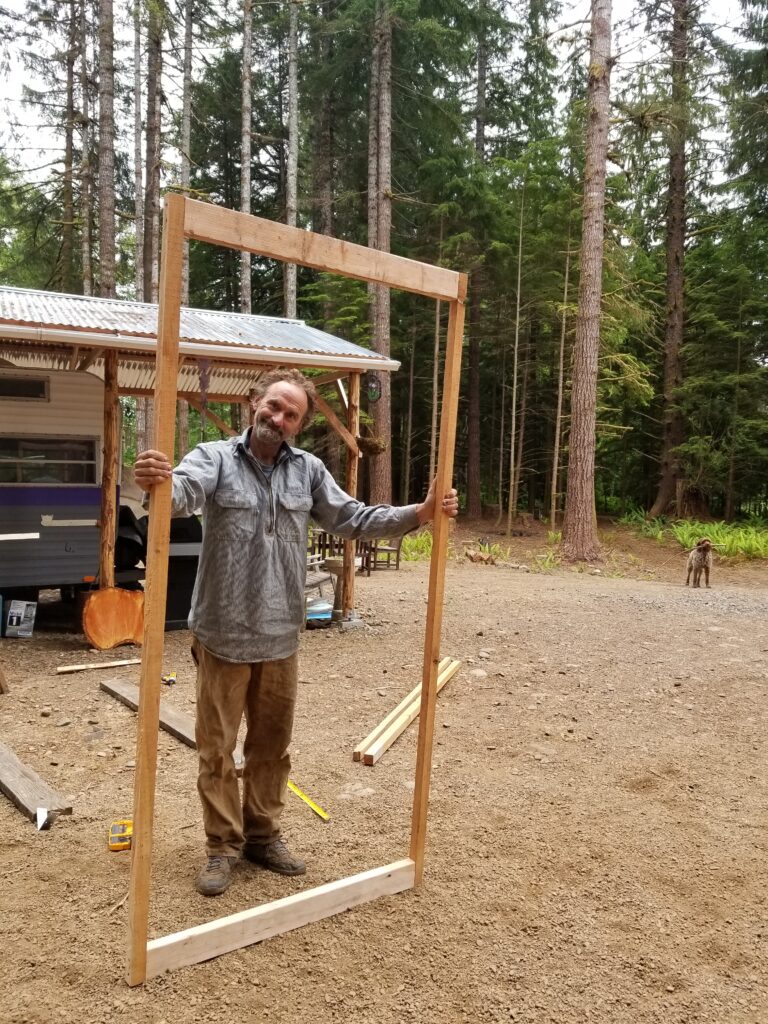
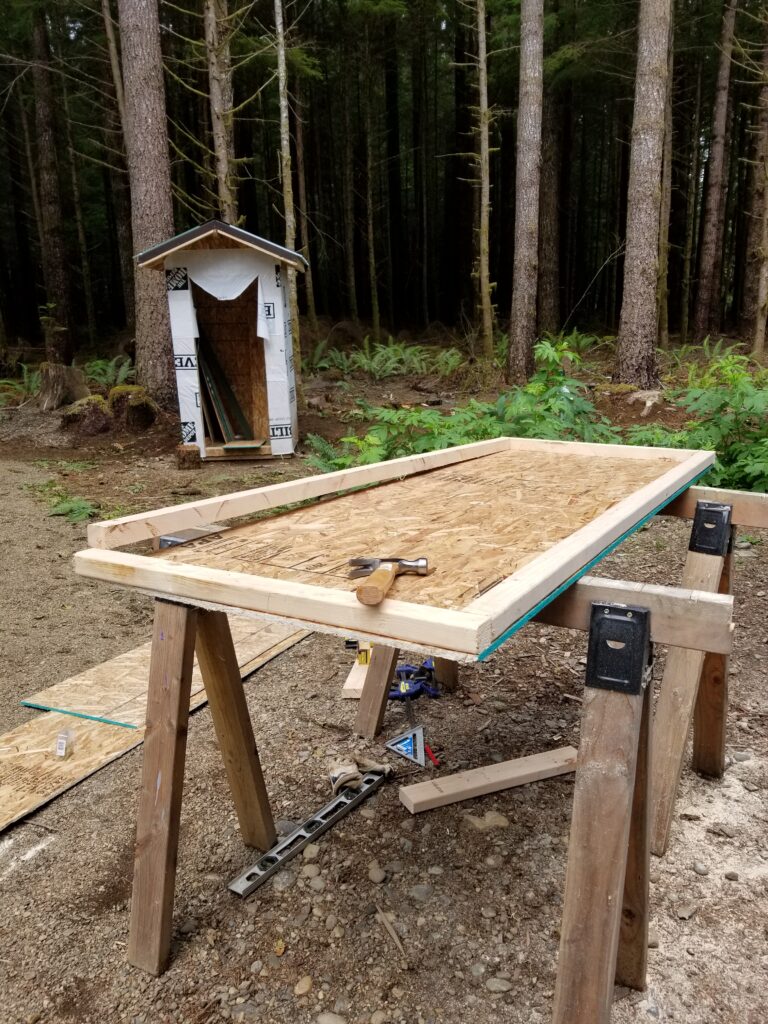
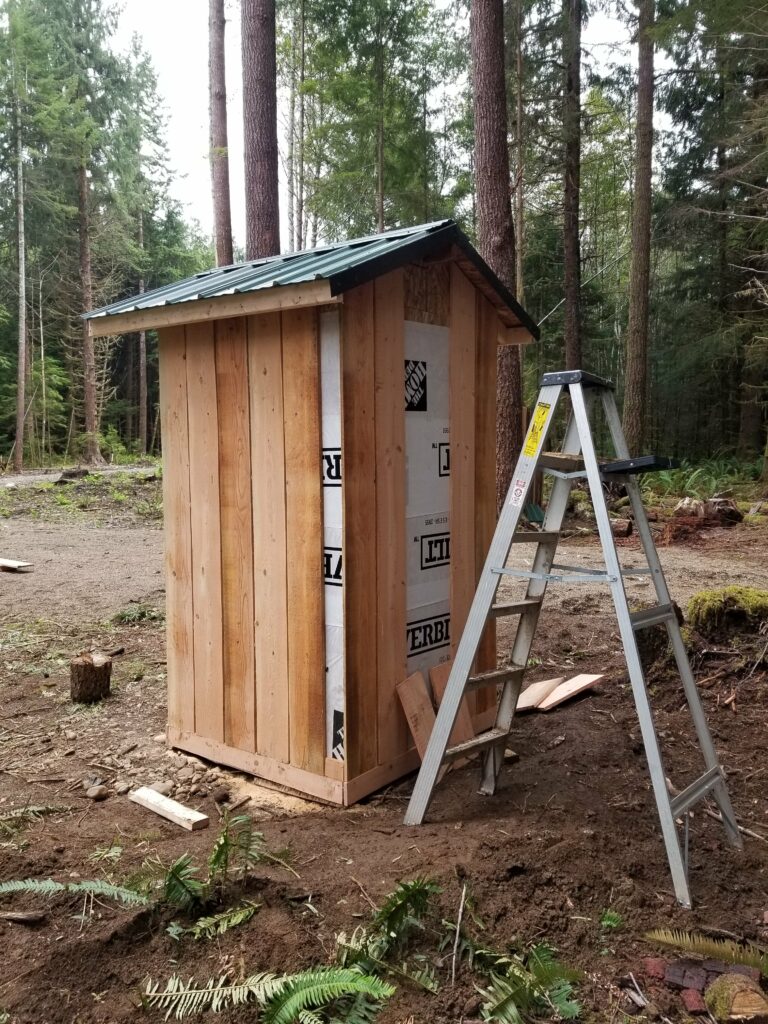
building the frame 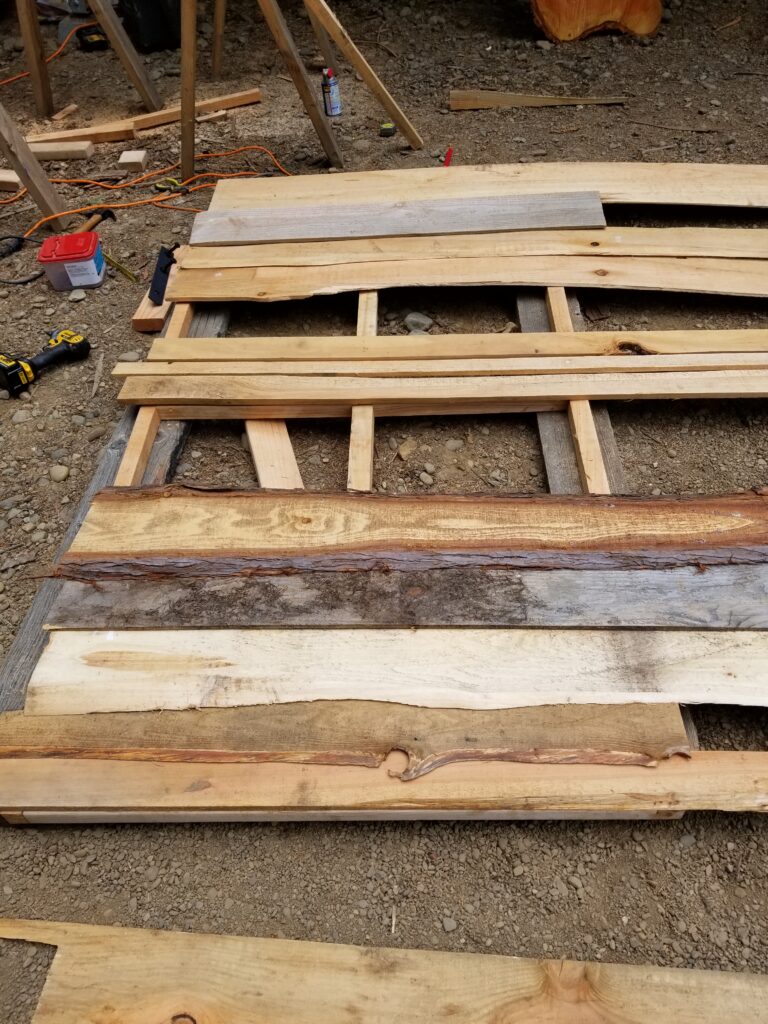
getting the siding laid out 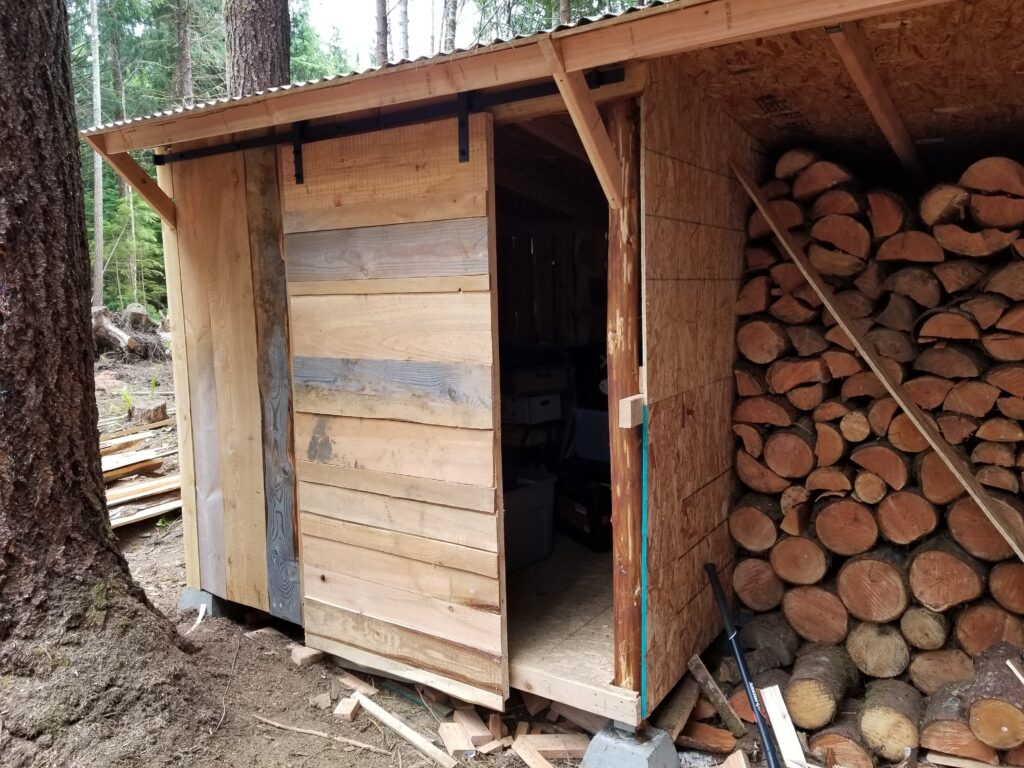
now i want barn doors everywhere!
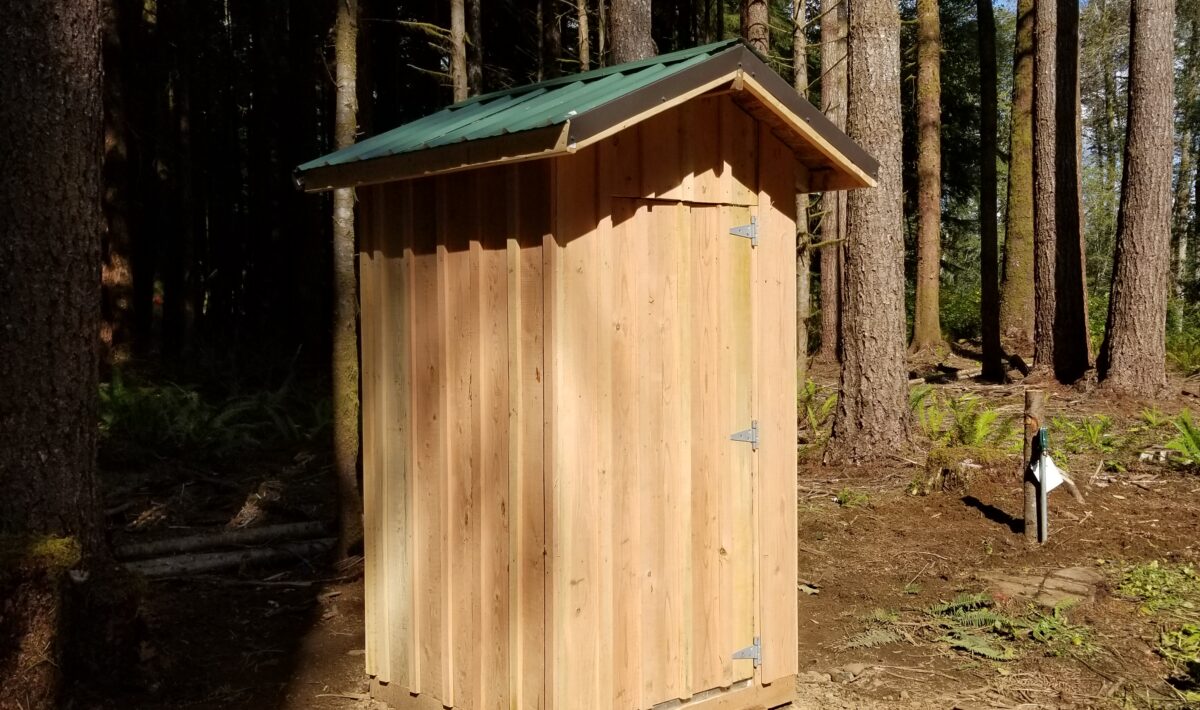
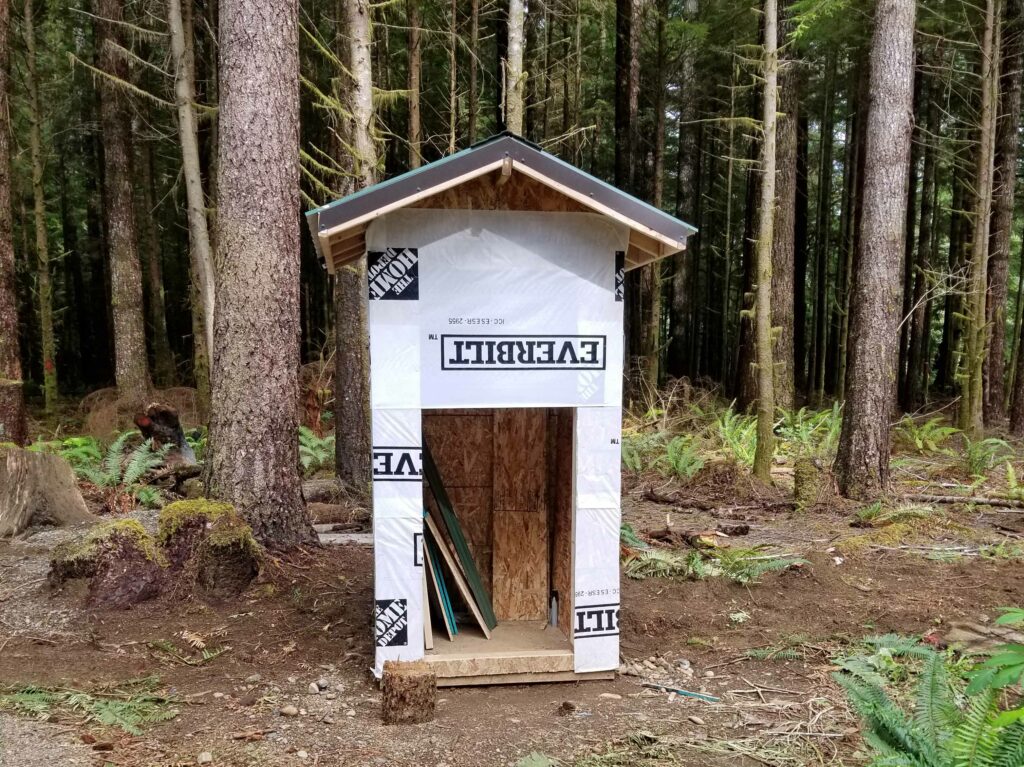
This pump house door though, I built all by myself. the don had come out in late summer to Winter’s Hope with a plan to build a pump house while I was off in the big city with my daughters. Factors including torrential rain and a dog in a leg cast kept him from finishing it. Then I came to Winter’s Hope to manage some other projects and he asked if I could build the door and maybe get the siding picked out and installed, too. I don’t know if he was serious but the weather was so nice that I was happy to stay as long as possible.
In my Texas house I had looked at replacing a door. Long story short, it was going to be more than I wanted to get into because of old house settling and the area around the door jamb needing to be redone. For this, though, I do not have to fool with all that. I sat down with a glass of wine and start drawing out the plan. I know that the exterior of the door will be covered with siding so that part is easy. And I can certainly build a rectangle and brace it. Well, shoot, let’s get on it then! Well, maybe tomorrow because I have heard it said you need 8 hours from bottle to throttle and using a circular saw is probably in that same class.
When measuring the door opening, measure several points, the top, middle, and bottom. Never assume it will be square, which in building parlance means even all the way around. Square, in this instance, does not actually have anything to do with cool you are.
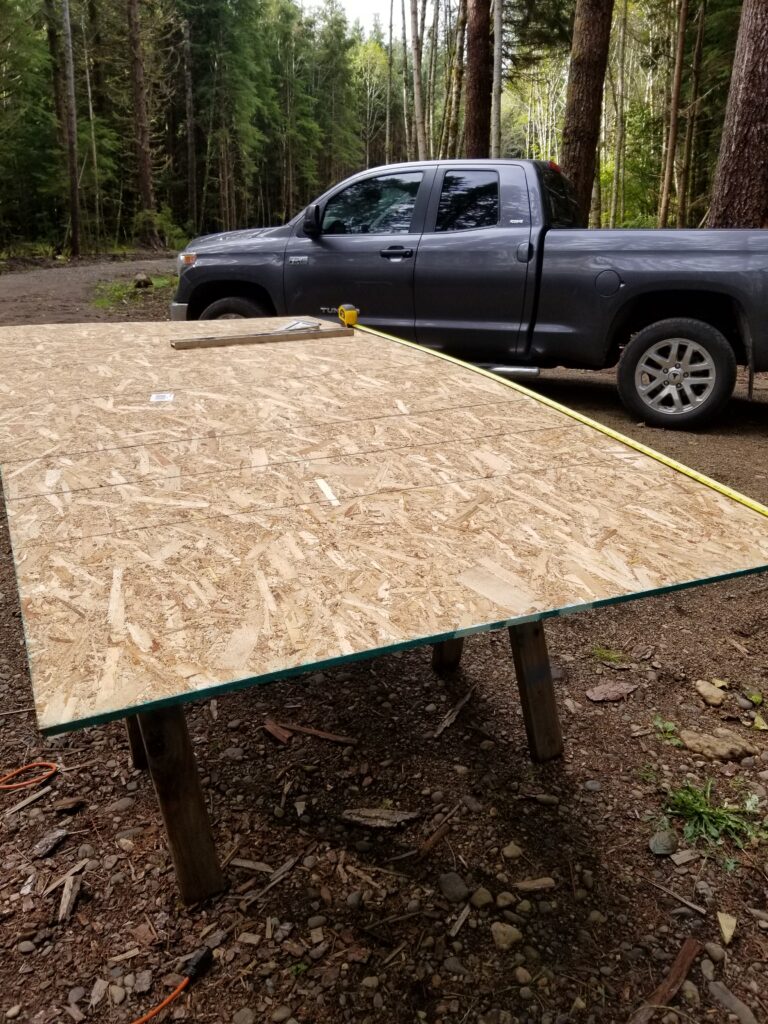
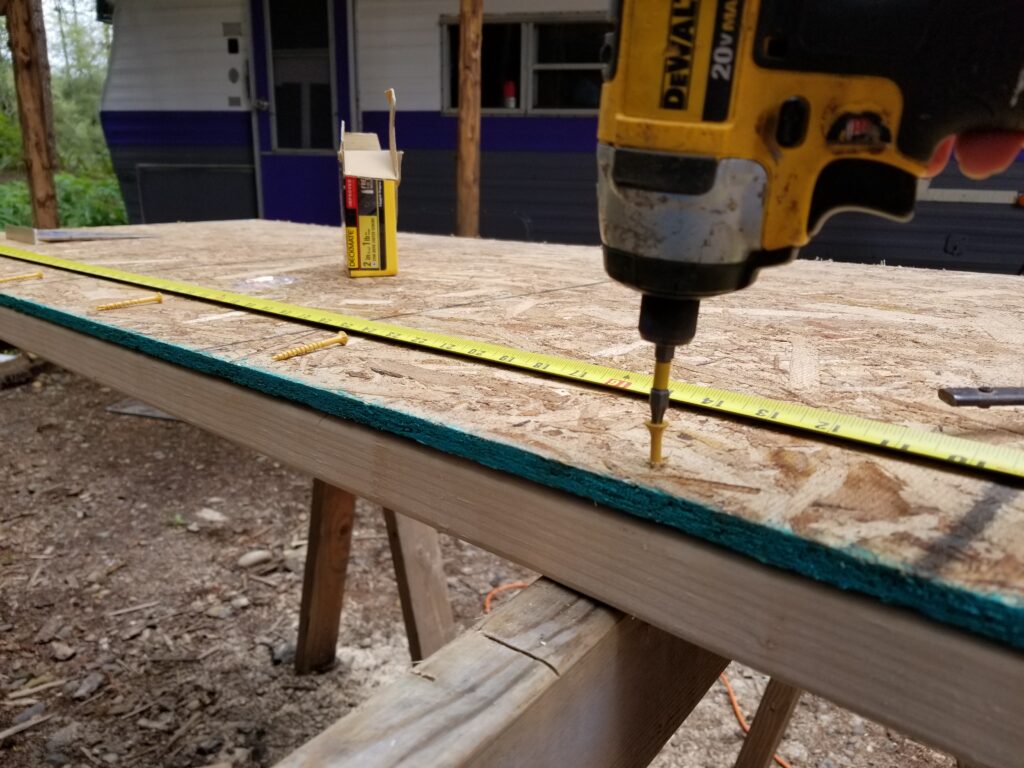
Here I am going to cut the OSB to the size of the door opening minus 1 inch. I am not tall enough to reach across this whole 4 foot sheet so I will make a race to run the saw along.
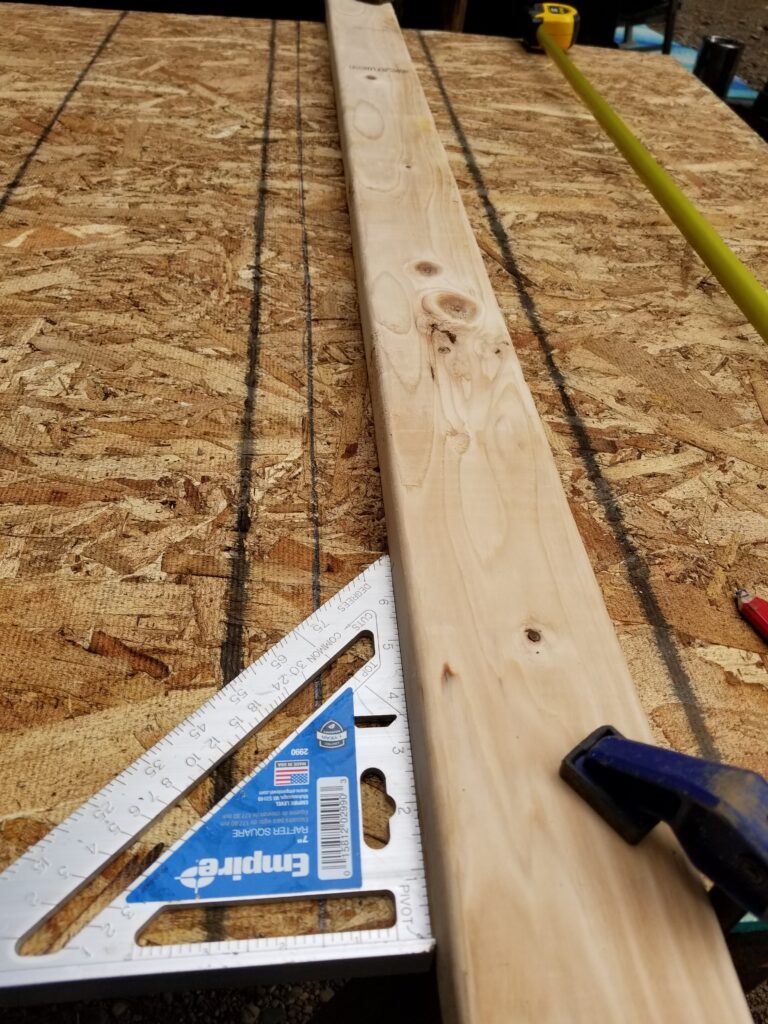
Hmmm, that worked pretty well until I couldn’t reach any further. If you are short and can’t reach the whole way across, I would recommend lowering the board so you can kneel on it. If I had it to do over I would get some other boards and make a mini table to set this down at almost ground level, then make the race and just kneel on the board as it was being cut. That would give you more control than over-reaching and having the derned saw veer off and screw up your perfect cut.
Oh well, it is fixable. The veer is only a little wobble so when I frame it out, I can make the adjustment. This side of the door does not have to be visually perfect since it won’t be seen. Good thing I was wearing my lucky scrunchie. Luckily.
I had all these 2x4s laying around because, yeah, I am that kind of person who has quality wood left over from other building projects. It used to be that I had extra jewelry and lipsticks just laying around in my purse but now, in my new “western frontier” life I have wood. But dern it, where the hell are my hand tools? Shoot, I left them at the other house. Is this what it is like to have two homes? Kind of like when you are seeing someone and it starts getting serious and you sleep over for a few days at a time and then can never find anything because your place is a mess from never staying there to clean and half of every outfit is at a different location.
Okay, I refuse to buy another set of tools so let us see how far we can get with said screwdriver and my Leatherman multitool. Dang, I left my hard sole shoes at the other house so there goes that idea for a hammer. (i really do have a little hammer shaped like a ladies high heel shoe) Maybe I can make do with a tree log for banging the braces into place and squaring up the door. No, I’m going to need something more than a log to affix siding, I am not a caveman, for goodness sake. There is a reason cave people lived in caves, you know. It was not until hammers were invented that they could affix siding to a hut, until then it was caves. I, for one, am not going back to caveman life, paleo be damned. Okay, yet another hammer is added to my collection. But that is it. Having 12 black skirts is one thing, that is normal. Having 6 hammers is getting close to needing medication.
For the frame of the door I ripped the 2x4s in half, making them 2×2. Though of course, the 2×4 is not really 4 inches wide due to planing. Doesn’t matter, this door is going to be braced with the 2×4 so this outer frame can be smaller. Ripping with a circular saw is not something I enjoy. If you have access to a table saw, use that. But probably if you have access to a table saw you do not need to read an article on amateur door building, so there is that. Ripping just means cutting a long strip off a long board. Go slow and it goes pretty well. Then measure the door sides and cut the frame boards to length. I made the top and bottom pieces first, clamped them in place, and screwed them to the OSB. Then I put the sides in, screwed them to the OSB and to their adjacent boards, and finally added the big guns of braces.
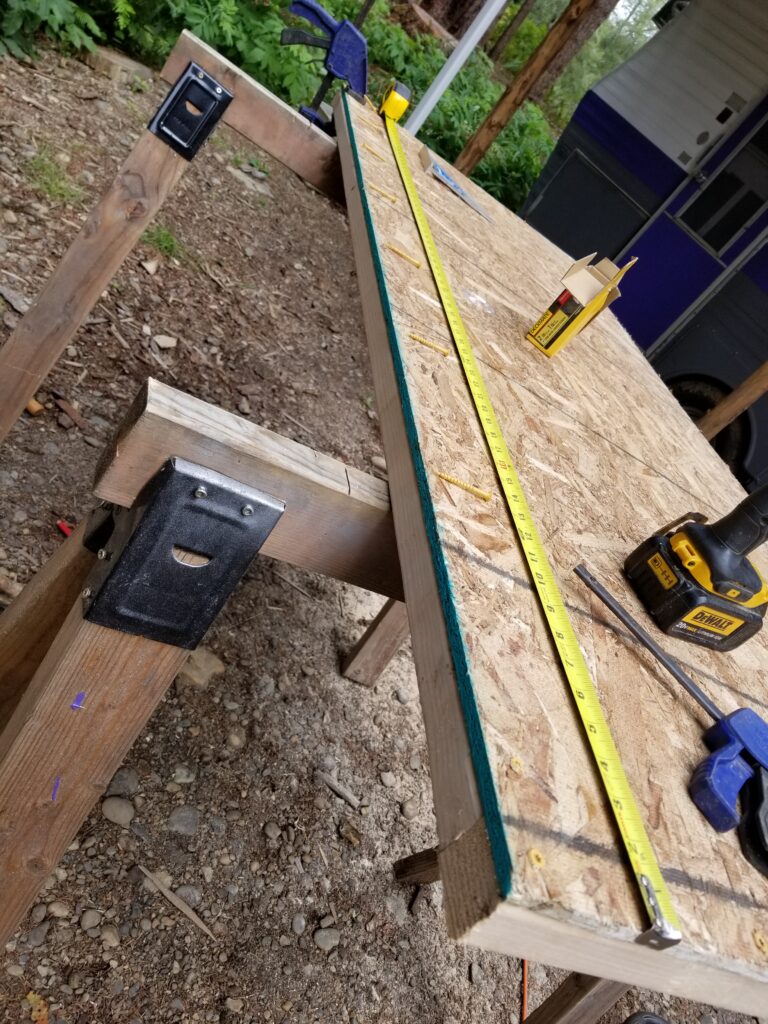
When you are screwing into OSB there will be some spots that the screw just spins and spins. It is like that part of the board strands are so randomly oriented that the screw can’t get a foothold. When this happens just take a breath and hold the screwdriver in place letting the screw spin. Do some kegels while you wait, the middle-aged you will appreciate this, trust me. Sooner or later the screw will start going in and you can move on to the next step, and have a better awareness of your pelvic muscles while you do. Can you say win-win? You could also drill pilot holes but then how would you get your exercise?
I built this door 1 inch smaller than the opening. Yes, on purpose. I want the siding to be able to hang over the edge of the door slightly and the door opening because I am going to use a vertical board siding. There is a half inch opening on each side of the door so the siding can stick out 1/4 inch over the door and opening and give it protection from the rain and hide the weatherproof wrap. I placed a piece of OSB on the floor of the door opening to lift it up off the threshold, lifted the door (by myself, I’m kinda buff that way!!!) and hand fit the door into place. Another piece of OSB on the side away from the hinges kept that spacing, too. Now to get the hinges on. I started with the middle hinge because it was the easiest to reach. Prior to setting the door up, I marked where the hinges would go, making sure the long part on the door would be screwed into the bracings. This is why I made the three bar brace instead of a Z brace, because I am using three hinges that I want attached to the 2x4s. I am determined, this door will not sag. I had a saggy door on the shed at my house in Texas. I would fool with the two hinges all the time and it was always out of whack. No more, I say! And the door on Brighty gets a little out of whack sometimes, which is common for an RV. I mean, an RV is a house that is meant to wiggle. And when Brighty’s door gets out of whack, you know what I do? Yep, I grab the screwdriver that sits just inside the door and give it a whack. I f-ing love screwdrivers.
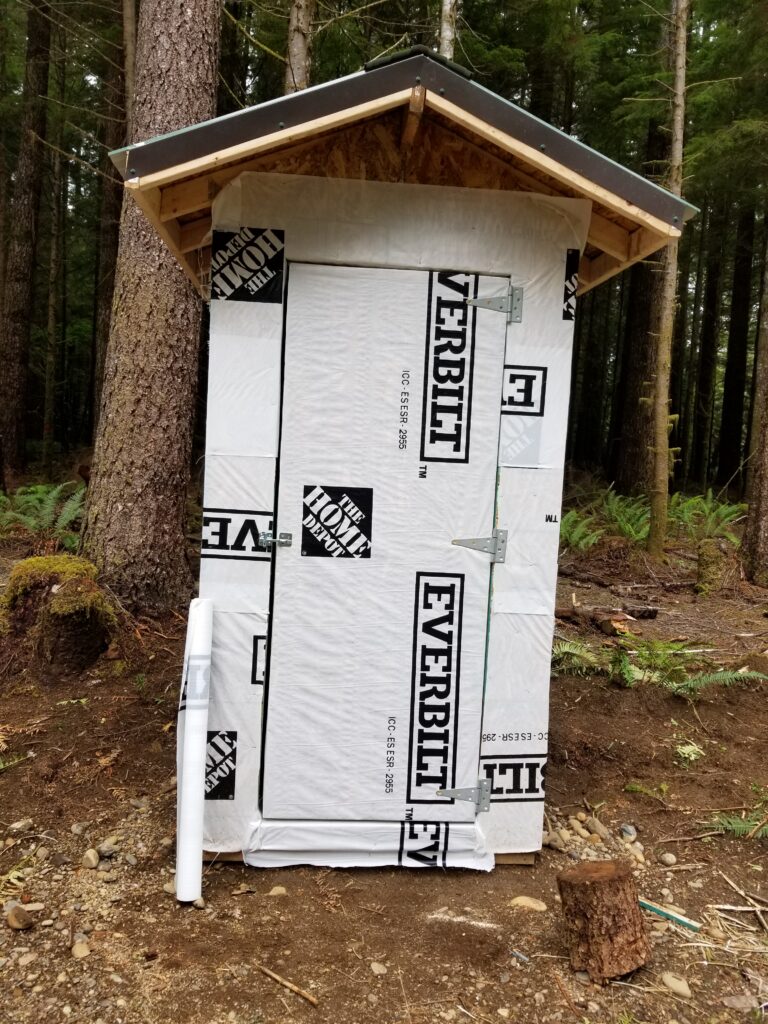
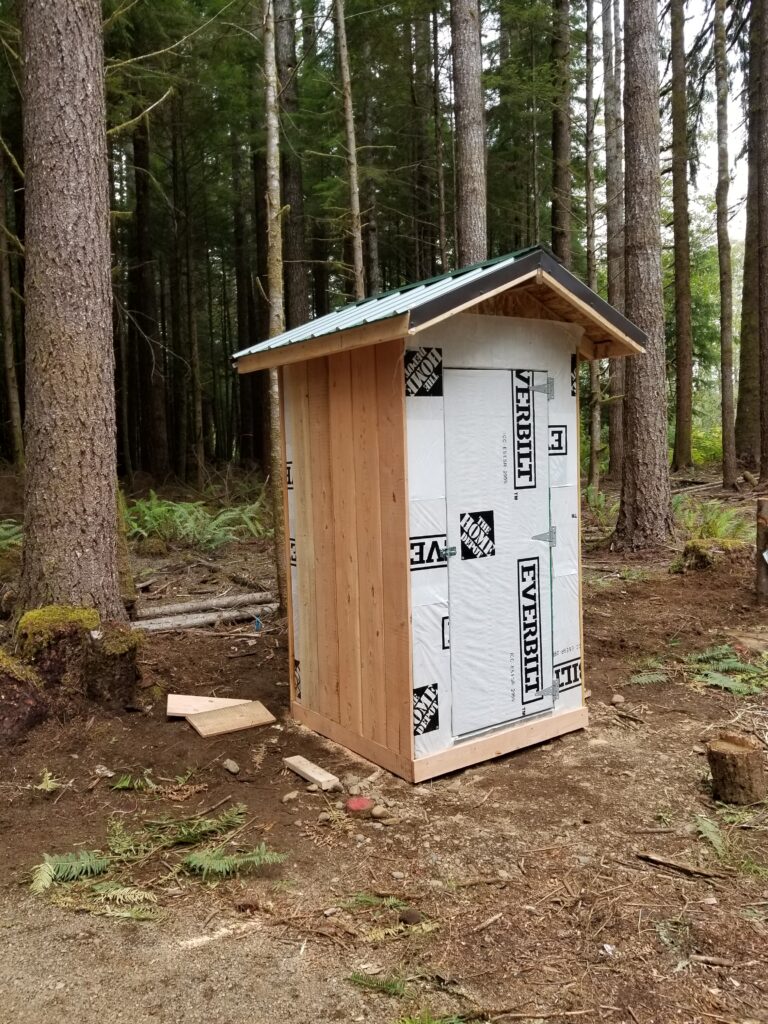
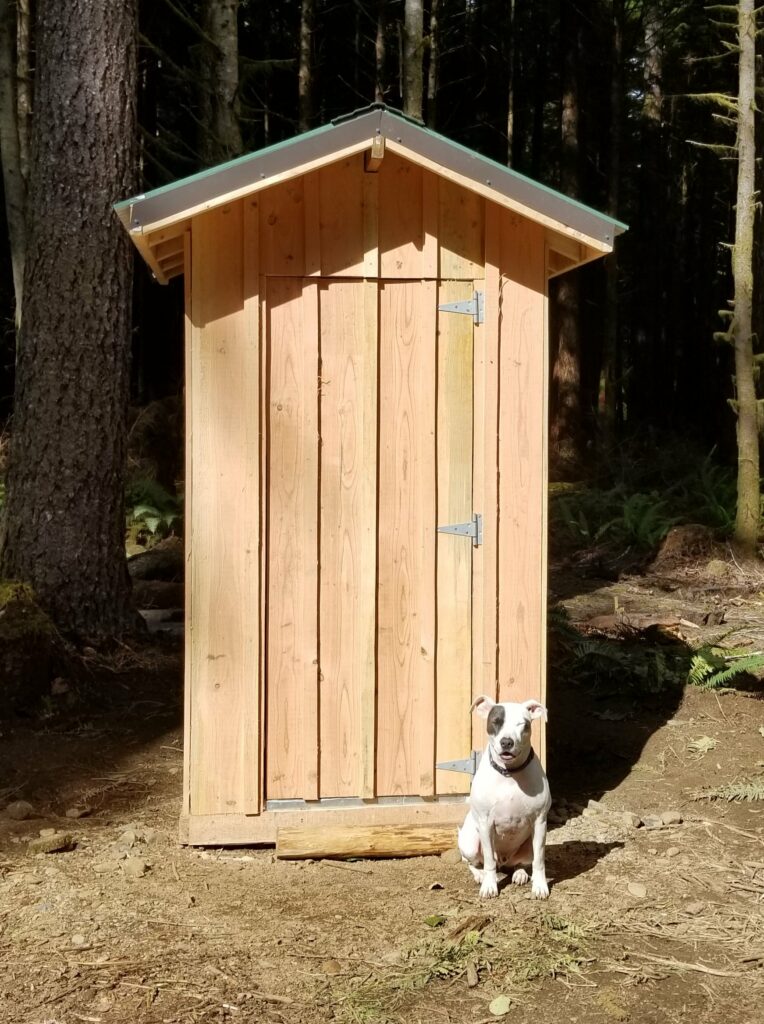
How nice that this job is finished. The door fit in perfectly and I can call it done until the siding gets delivered. In the meantime, I’ll build a threshold out of some flashing I have lying around. Ideally the threshold would not have a seam but a bead of caulk will suffice and I can use up the stuff I have rather than buy more. This is just a pump house, after all.
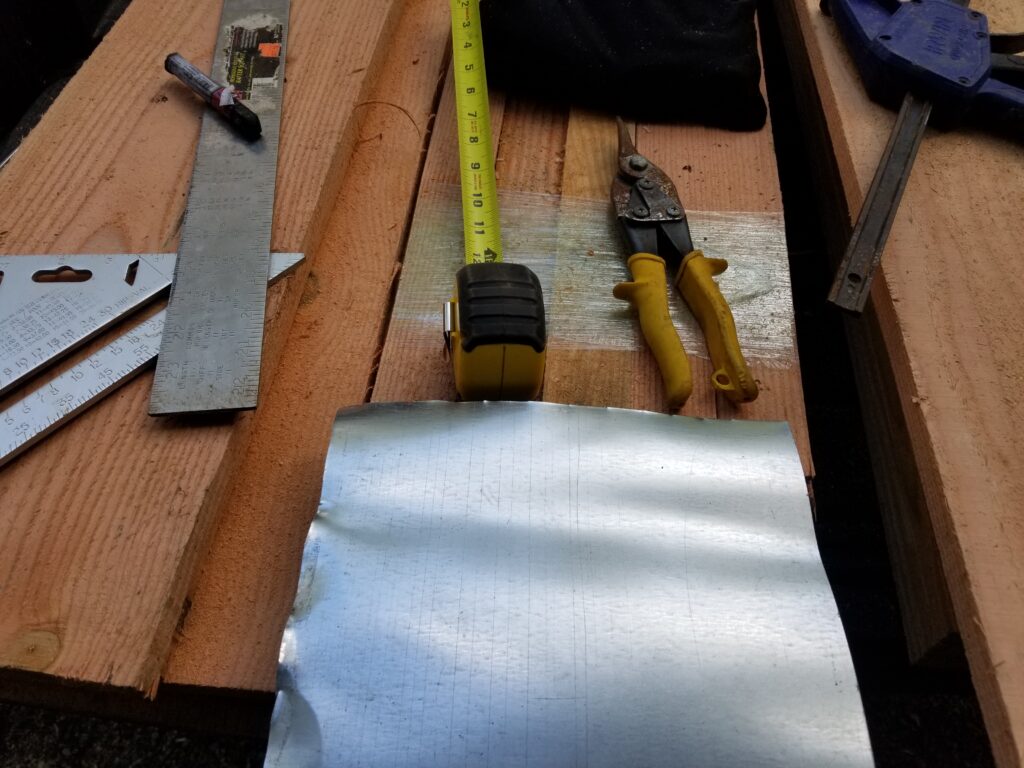
assemble tools 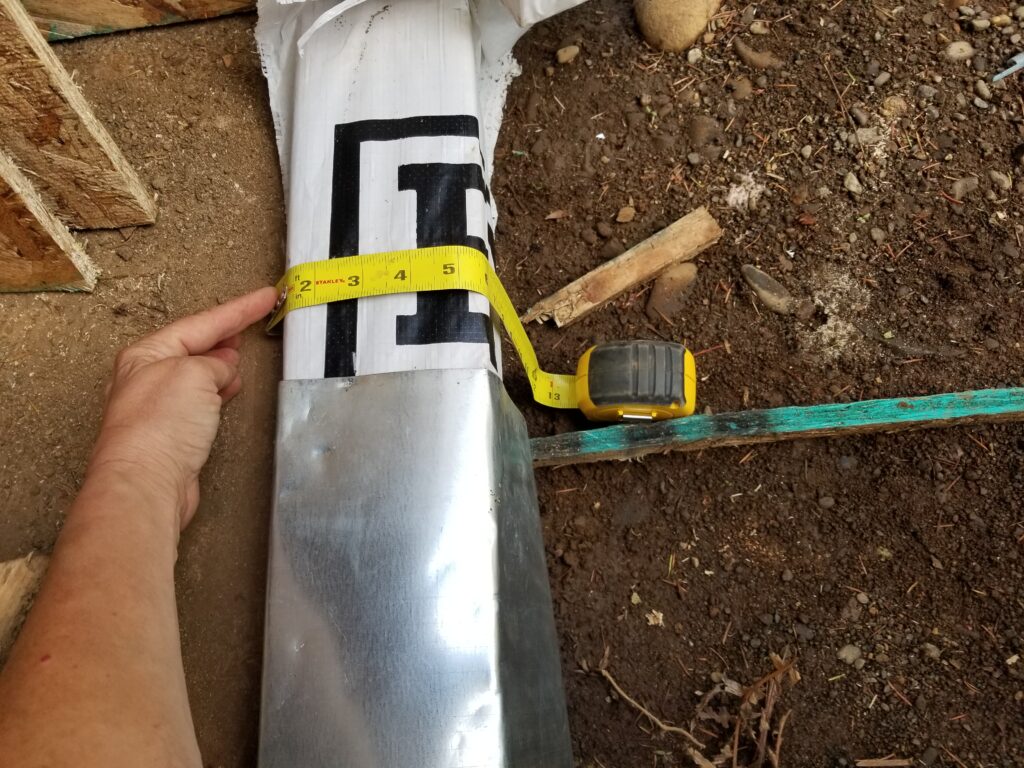
measure. 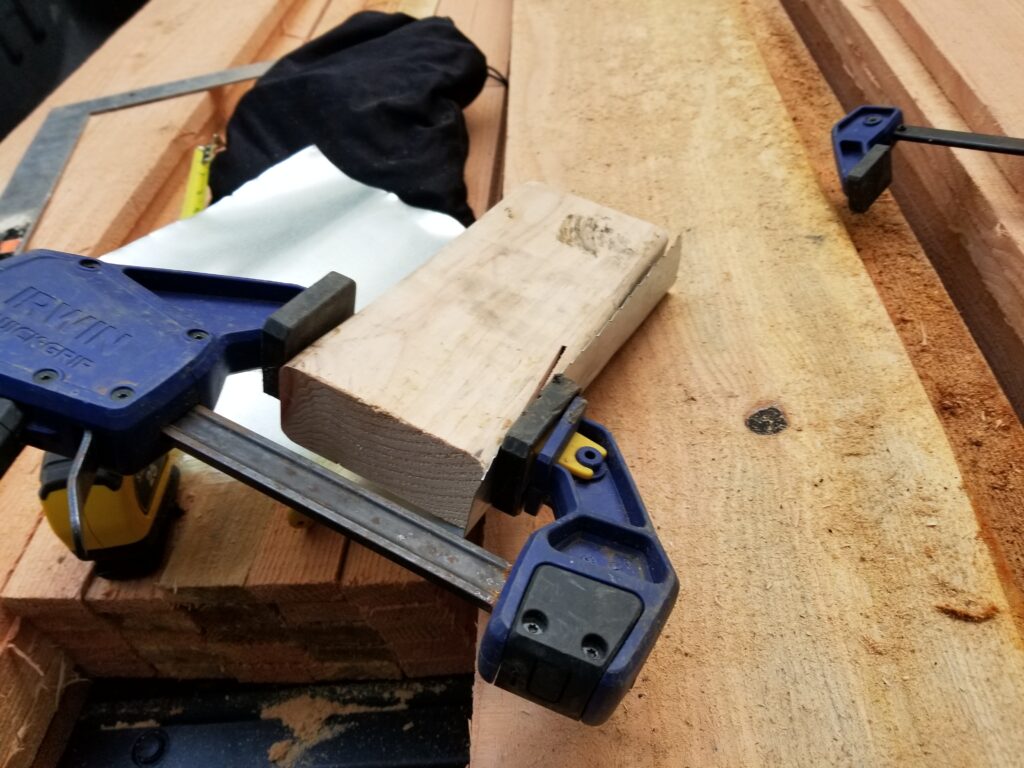
bend the corners 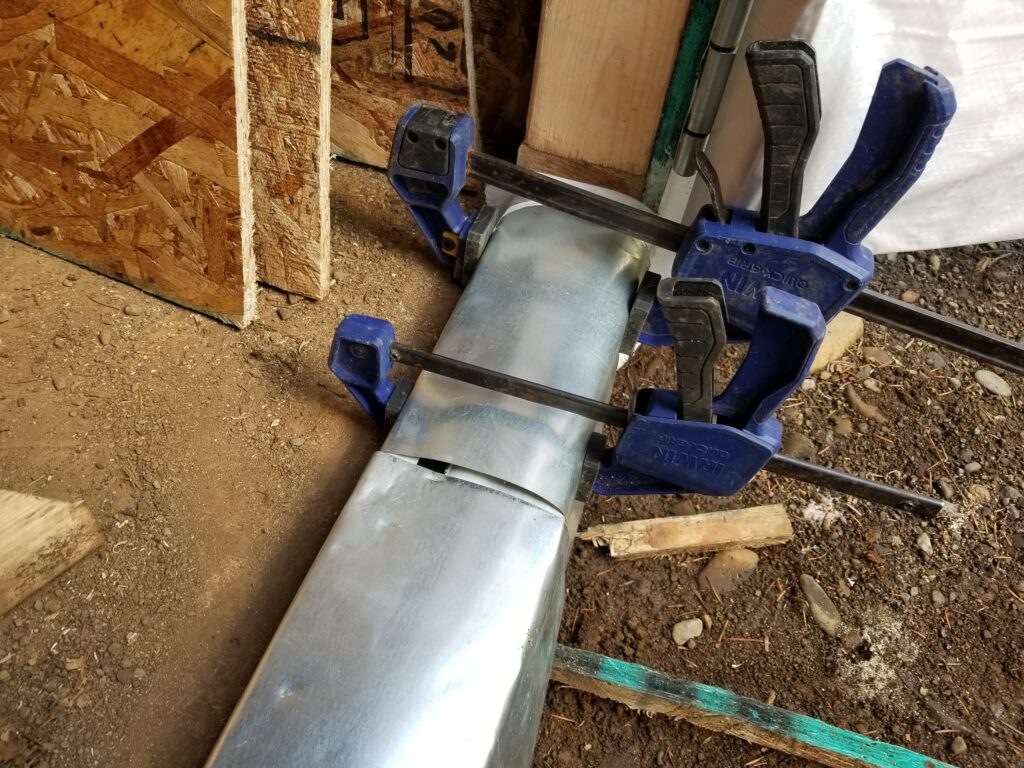
clamp and check fit, then nail 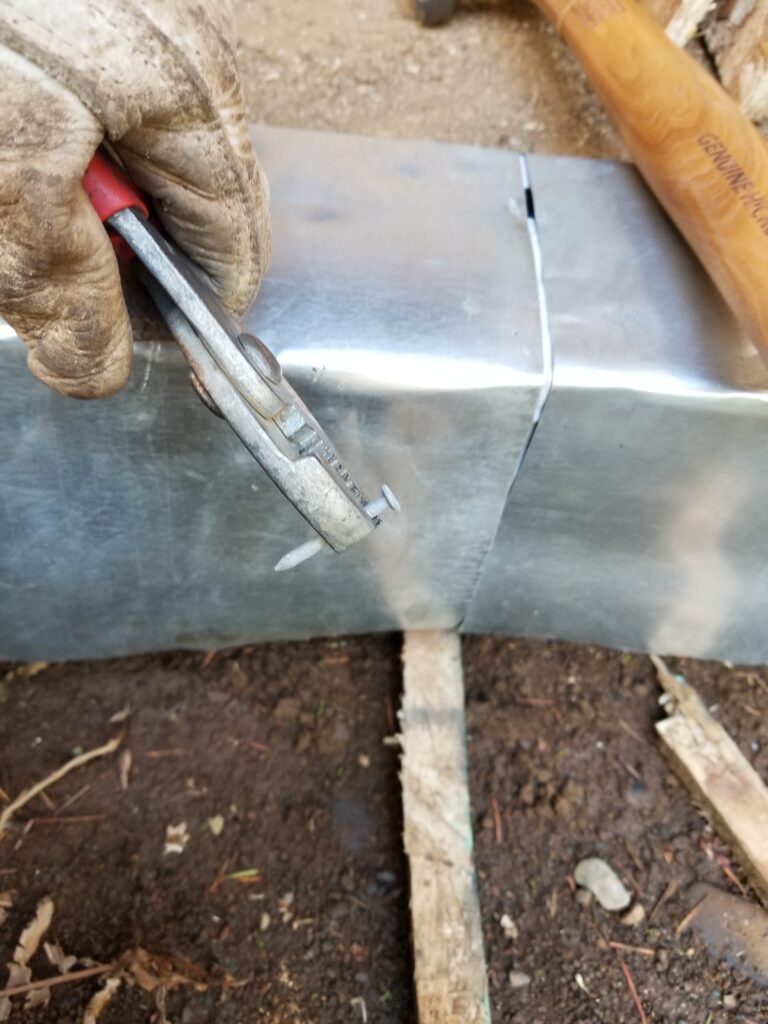
Tip to keep that manicure looking nice, hold the nail with pliers
Well, that was fast. I actually was not expecting the siding to be selected and done until the don and I were back out here this winter. But I kinda know a guy with a saw mill and he decided to go ahead and do a rush job on getting the wood milled. Well, I guess I can try my hand at putting up wood siding.
Rats, I am going to have to take the door off now 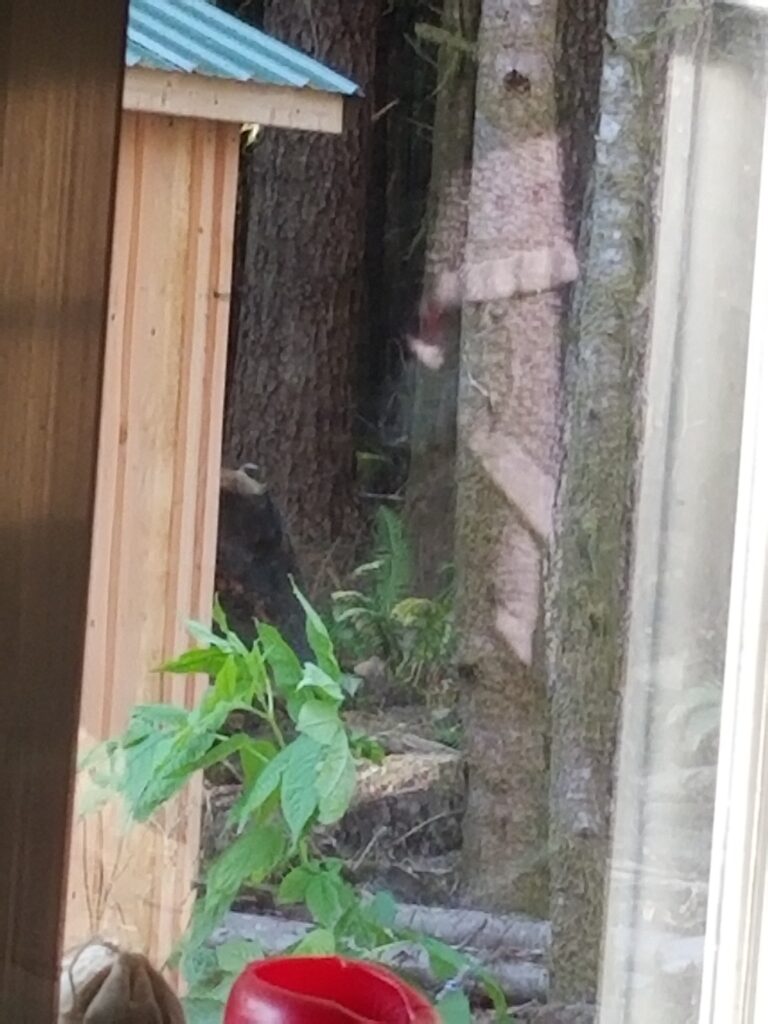
Doesn’t that look like a bear?
This style of siding is called board and batten. It is perfect for this situation in that the wood is still quite wet. If I had access to having it kiln dried, that would be ideal but I do not. And people were putting siding on structures long before kiln dried wood was available. I can expect this wood to shrink a bit as it dries and the battens will cover that shrinkage. One advantage to having dried wood, I discovered, is the weight. Wet wood is much, much heavier than its dry counterpart. This weight was really only a big issue when it came time to reinstall the door. The door now weighs so much that I cannot maneuver it very well! Phooey! Due to the weight the door keeps knocking out the wood on the threshold that is used as a spacer for installing, something that was not a problem without the siding attached. I tried using shims but they all broke off when the door would be adjusted. Maybe a metal shim… an axe is like a metal shim. After some fooling around trying to use the axe to wedge up the door into place I realized that this is not a one person job at this time. Let the wood dry a bit and/or get a second person to help lift the door onto the threshold. I thought about removing the siding, installing the door, then reattaching the siding and maybe just cut around the hinges or something. Unfortunately the wood splits when trying to get it off and thank God I thought to practice this on a back piece first. No, the job will just have to be not-quite-finished until I get that cute assistant of mine back here and that is that. Dang. It still looks pretty good.
I hope that you have been encouraged to try something new today. Even if you do not know how, see if you can figure it out. Screwing up is part of the process!
Please note that yippikiyo.com is an Amazon Affiliate. If you follow a link from this post, you may purchase the recommended item at no additional cost to you yet I will make a small commission. I mean, ain’t nobody gettin’ fat and happy on this but it does encourage me to keep writing.
It’s gorgeous but you make it look too easy. 🙂
Susan, from one Texas gal to another, you amaze me!!!